.png)
Quick Start
To get up and running as quickly as possible, you can follow these key steps.
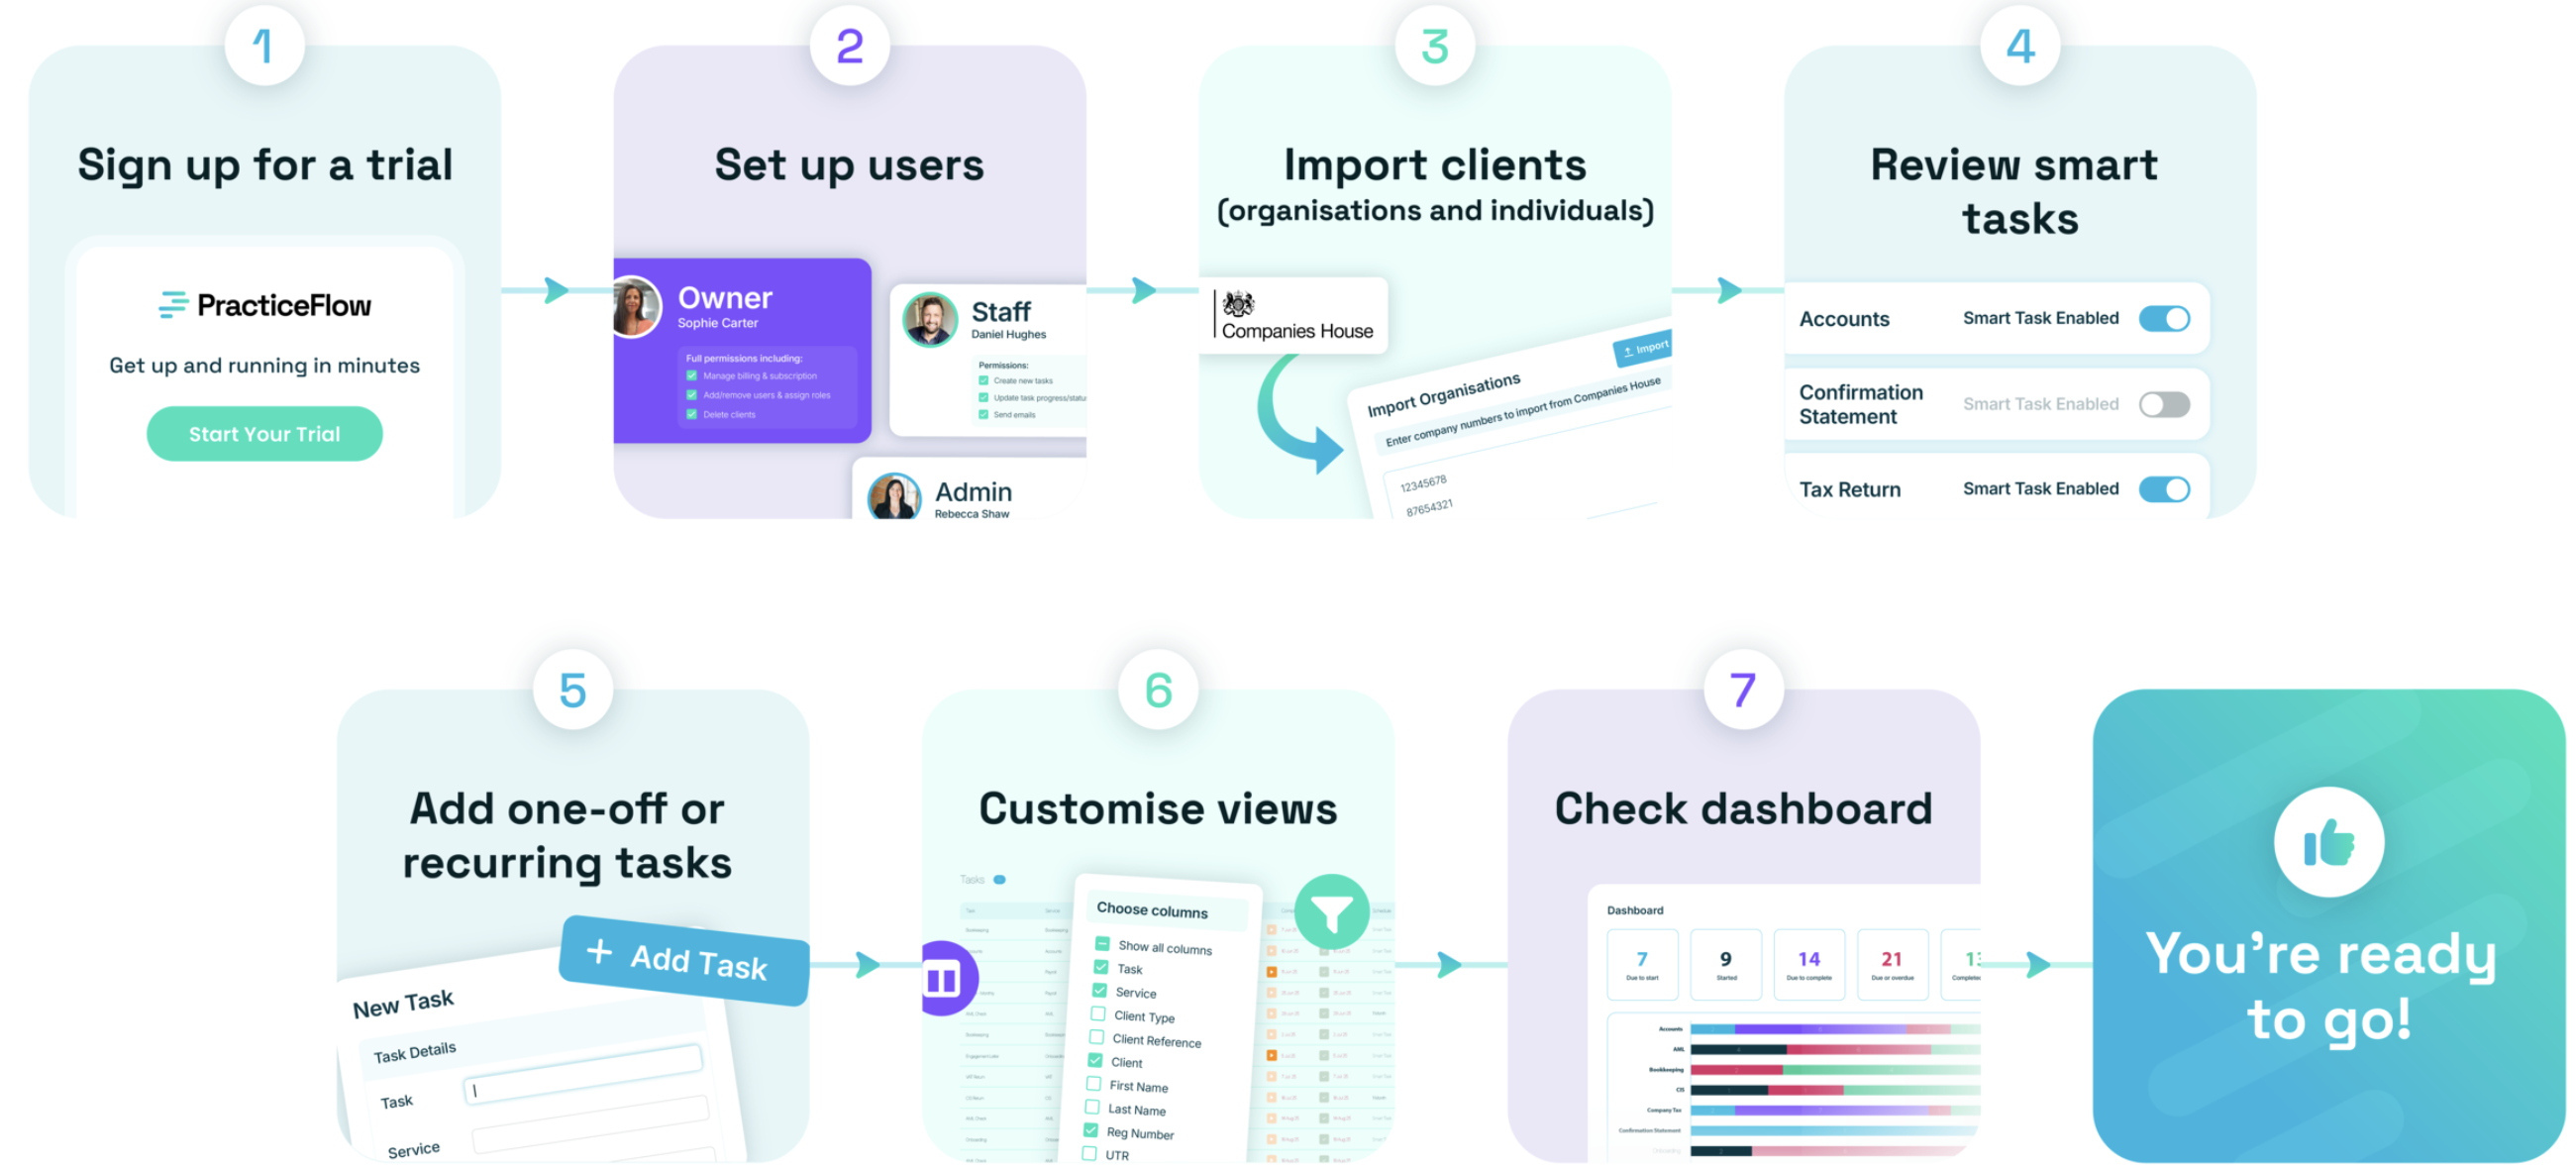
- Sign up for a free trial
If you do not yet have a PracticeFlow account, sign up for a free trial on the PracticeFlow website.
The person who signs up becomes the account owner and can then add users and set up the account.
- Set up users
Before importing client data, add your users via Settings > Users > Add User.
The account owner has full access. Additional users can be added as:
- Administrator: can access all settings except billing.
- Staff: cannot access settings, users or billing.
Set up users before importing clients so that Account Managers can be assigned to clients through the import template. Account Managers can also be added or changed later from the client record, but it is still helpful to have users set up first.
Smart Tasks are automatically assigned to the Account Manager. All tasks can also be assigned or reassigned separately. This is covered in the Tasks sections below.
- Import clients
During initial setup, you can add your existing clients in bulk using the CSV import templates. Further clients can be added at any time, either individually or through another CSV import.
Tip: both CSV import templates include custom fields. You can save a lot of time during the setup process by creating custom fields before you import your clients. See setting up Custom Fields.
In PracticeFlow, clients are set up as either Organisations or Individuals. Individuals can also be added as contacts linked to an organisation.
Organisations
Organisations include limited companies, partnerships, charities and sole traders.
Use the Organisations CSV import template to add multiple organisations. Limited companies must be imported using their Companies House number. PracticeFlow uses this to populate available company information, which is then updated through the Companies House sync.

You can also add organisations individually or add multiple limited companies using a list of Companies House numbers.

The import template can include:
- Services, to create the relevant Smart Tasks automatically
- Account Managers, where users have already been set up
- Other client information required for initial setup
Individuals
Individuals include personal tax clients and people held as contacts, such as directors or PSCs linked to an organisation.
Tip: The individuals CSV import template allows you to add a link to any organisation using its Companies House registration number.
Use the separate Individuals CSV import template to add multiple individuals, or add them individually from the Individuals tab.

- Review Smart Tasks
Smart Tasks are created automatically when the required client and service information is included in the CSV import. They can also be triggered later by adding the required information to the client record.
Go to the Tasks tab to review the Smart Tasks that have been created. Tasks are automatically assigned to the client’s Account Manager but can be reassigned where required. Account Owners and Administrators can select Smart to review or amend the underlying templates.
See Triggering Smart Tasks for the minimum information required to create each type of Smart Task.
- Add one-off or recurring tasks
In addition to Smart Tasks, you can create one-off tasks for ad hoc work and recurring schedules for regular work not covered by Smart Tasks.

All users can create a one-off task from the Tasks tab by clicking + Add Task. Account Owners and Administrators can also select Recurring to create and manage recurring task schedules. They can access Smart to manage Smart Task templates. Staff users can create one-off tasks only. They do not see the Current, Recurring and Smart selector.
See Task Creation for more information
Tasks can be assigned to a user when created and reassigned later by updating the Assigned To field.
- Customise views
The Organisations, Individuals and Tasks lists can be customised to show the information most relevant to you.
Use the Column Chooser to select which columns are displayed. You can also:
- drag columns into a different order;
- sort by clicking a column heading; and
- use filters to narrow the records shown.
These changes help each user organise their working view without changing the underlying client or task data. See Customising Views for more information.
- Check the dashboard
The dashboard provides an overview of your tasks by status and service. Use it to review tasks that are start overdue, started, due to complete, overdue or completed within the last 30 days.
Click a total or section of the chart to open the relevant tasks in a filtered view.
See Dashboard for more information.
You are now ready to start managing your clients and tasks in PracticeFlow!